My idea, inspired by the Group Project, is to make a car with omni directional wheels. The pictures are not the best quality since they are just "screenshots" taken with my phone, but the main idea is there. I need to add more details in the final car, but the chassis is pretty much done. The one problem I was having was getting my car to not look so... well... so suggestive. Which, for this project at least, isn't the goal. I removed the wheel casings and that helped a lot.
Tuesday, November 24, 2015
First 3D Print!
Brook Simonson (http://bascad.blogspot.com) and I made a little mushroom in Inventor to practice printing on. The whizzing and booping of the 3D printer was mesmerizing to watch to say the least. The bad thing about printing (if you're impatient like me) is that, it not only takes over an hour for something to print, but it isn't always reliable as one would expect. Also, to avoid screw ups in the printing process you should try to avoid too steep of curves.
Attempt 1.
Attempt 2.
Attempt 5. Finally, it worked!
Group Car Project: Everything But the Wheels
Vicente Campos (http://coolvincedesigns.blogspot.com/) did an amazing job making the chassis for our car! All that is left to do is make the wheels, print them out, and then assemble.
Thursday, November 5, 2015
Vinyl and Sandblasting!
While cutting out my sheet metal vessel I got a piece of scrap that looked kinda right to be a name tag. I put my name in an illustrator file, and just like magic it was sent to a vinyl cutter (and by magic I mean my professor helped me)! After buffing my piece of scrap, I stuck the vinyl name onto the plate and then blasted the heck out of it with sand. It gave this cool reflective look to the words while leaving the rest non reflective. (the first picture is the vinyl name, the second is the finished product)
Sheet Metal Vessel: Final
Making the final Sheet Metal Vessel was the same process as making the prototype. I taped the blueprints to a piece of sheet metal, cut out the sheetmetal with the print on top, and then folded the sheet where it needed (I also used a grinding tool along the lines to help the folds be sharp and precise). I think it turned out very well, and once again... thank God I didn't do something that I would have been bored with. Projects like these take time and, if you're not invested in the project, be about as fun as sticking your hand into a bunch of scissors (because you get a lot of cuts from the metal in this project).
Sunday, November 1, 2015
Sheet Metal Vessel: Prototype
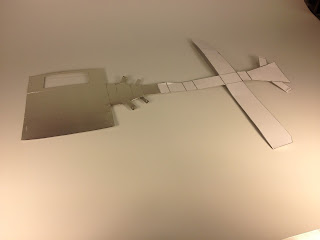
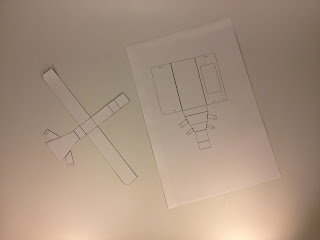
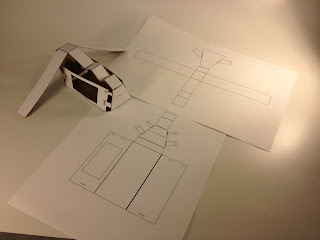
I made a flattened version of the 3D model and printed it on paper, glued it onto card stock, then cut them out. Then I folded using the instructions and put little screws into the designated zones. I think it turned out very well (and it is fun to play with)!
Subscribe to:
Comments (Atom)


